- Date

This is a guest post by @nicolaisimonsen
Gridsome is a Vue.js framework for building static generated sites/apps. It’s performant, powerful, yet simple and really faaaaast. Gridsome can pull in data from all sorts of data-sources like CMSs, APIs, Markdown etc. It has a lot of features. Go check ’em out.
Since GraphQL is so efficient and great to work with it makes sense to fetch our WordPress data in that manner. That’s obviously where WPGraphQL comes into the picture and I think it’s a match made in heaven. ????
If you’re up for it, below is a quick-start tutorial that will guide you through building your first WPGraphQL-Gridsome app.
I know I’m stoked about it!
What we will be building
We’ll go ahead and build a small personal site in Gridsome. Basically just a blog. The blog posts will be fetched from WordPress via WPGraphQL.
This project is very minimal, lightweight and this project alone might not blow your socks off, but it’s foundational and a great start to get into headless WordPress with Gridsome.
Setup a WordPress install
First off is to install WordPress.
I highly recommend Local for setting up WordPress locally. It handles everything from server setup and configuration to installing WordPress.
You can also use MAMP/WAMP/LAMP or however else you like to do it. It’s all good.
With WordPress spun up and ready to go, we want to install and activate our one and only plugin. WPGraphQL.
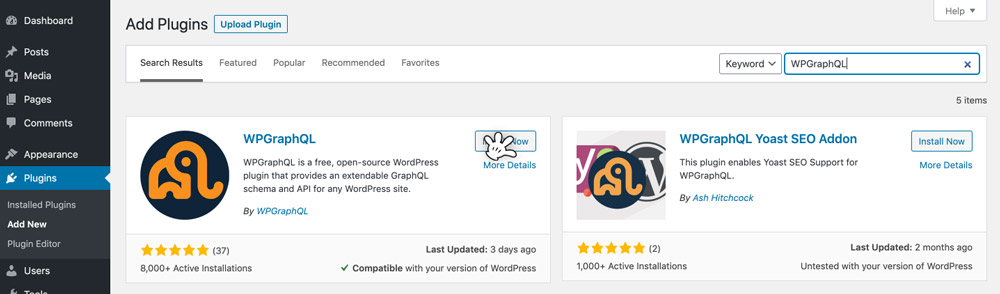
Now go to WPGraphQL > Settings and tick “Enable Public Introspection“.

That’s it. We are now cooking with GraphQL ????????????
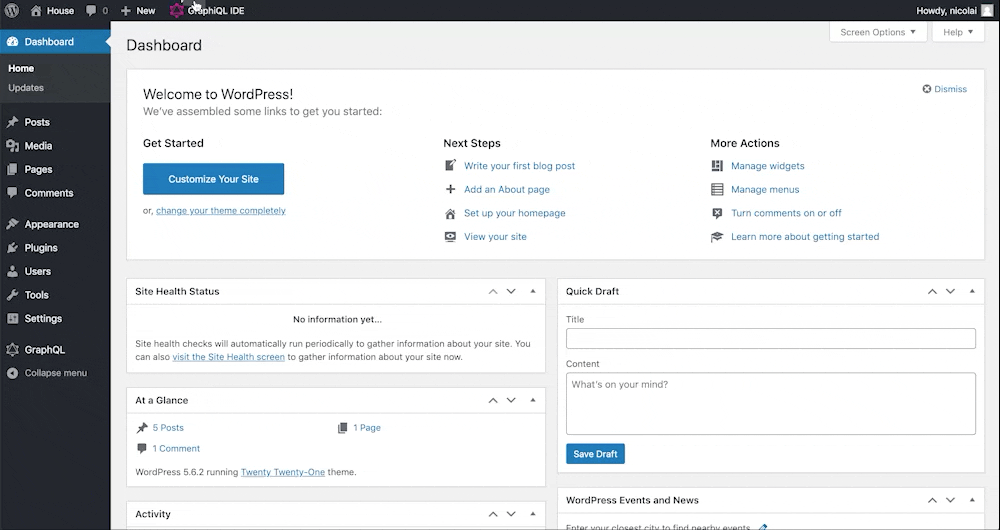
Included with WPGraphQL is the IDE tool which is awesome for building/testing out queries directly in WordPress.
It might be a good idea to play around in here for a few minutes before we move along.
Aaaaaaand we’re back. Last thing we need to do is just to add a new post. Add a title, add some content and press publish.
Great. You’re golden. Onwards to some coding!
Gridsome? Let’s go!
I’m including a WPGraphQL-Gridsome starter (well, actually two).
I highly recommend cloning the stripped version – this will only include styles and html, so we can hit the ground running.
However, you can also just start from scratch.
Either way I got you.
If you just want the full code, that’s completely fine too.
Let’s go ahead an open our terminal/console.
The very first thing is to install the Gridsome CLI
npm install --global @gridsome/cliNavigate to your desired project folder and type in
gridsome create my-personal-site https://github.com/nicolaisimonsen/wpgraphql-gridsome-starter-stripped.gitor if you’re starting from scratch
gridsome create my-personal-siteNow move into the project directory – then start the local develoment
cd my-personal-sitegridsome developIn our code editor we should have the following:

We’re now exactly where we want to be. From here we need to pull in WPGraphQL to Gridsome as our data-source. For that we’ll be using this gridsome source plugin. Go ahead and install it.
npm install gridsome-source-graphqlThe source plugin needs to be configured.
Open up gridsome.config.js and provide the following object for the plugins array.
//gridsome.config.js
module.exports = {
//
  plugins: [
    {
      use: 'gridsome-source-graphql',
      options: {
        url: 'http://{your-site}/graphql',
        typeName: 'WPGraphQL',
        fieldName: 'wpgraphql',
      },
    },
  ],
//
}
Remember the options.url is the site url + graphql endpoint.
(Can be found in WordPress under WPGraphQL > Settings > GraphQL endpoint)
For every change to gridsome.config.js or gridsome.server.js, we need to restart the app. You can type ctrl + c to exit the gridsome develop process and run gridsome develop again to restart.
Now you can test the new GraphQL data-source in Gridsome Playground/IDE – located at http://localhost:8080/___graphql
Write out the following query and hit the execute button (▶︎):
query {
  posts {
    edges {
      node {
        id
        uri
      }
    }
  }
}
There you have it. On the right side you should see your posts data.
That data could prove to be mighty useful, huh?
We’ll start setting up a Gridsome template for our posts.
Within the “src” folder there’s a folder called “templates”.
A template is used to create a single page/route in a given collection (think posts). Go to/create a file within “templates” folder called Post.vue.
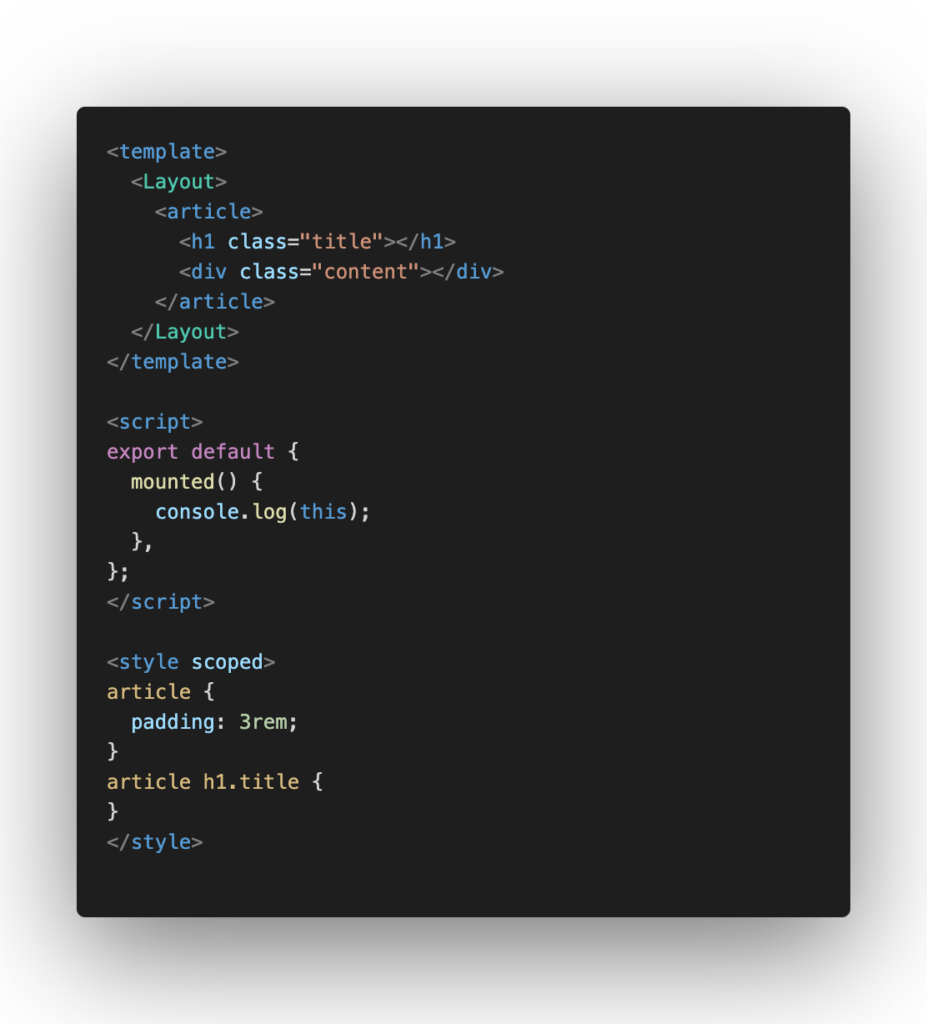
In order to query the data from the GraphQL data layer into our templates we can use the following blocks;<page-query> for pages/templates, requires id.<static-query> for components.
In the Post.vue template we are fetching a specific post (by id – more on that later), so we’ll write the following <page-query> in between the <template> and <script> blocks:
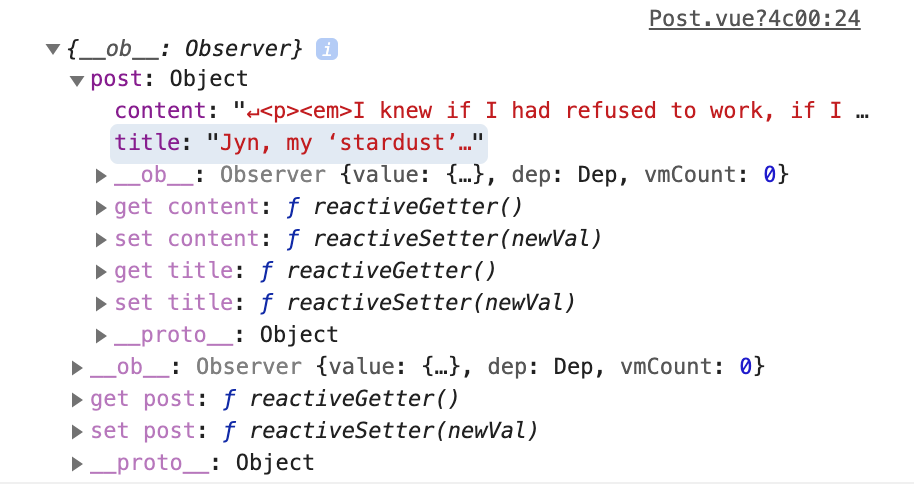
Also – change console.log(this) to console.log(this.$page).
Important – we’ve only laid the groundwork for our template. It won’t actually fetch the data yet, since the route/page and id (dynamically) haven’t been created. The step needed is the Pages API and that’s where we are heading right now.
Open up gridsome.server.js and provide the following.
(Remember to restart afterwards)
// gridsome.server.js
module.exports = function(api) {
  api.loadSource(({ addCollection }) => {
    // Use the Data Store API here: https://gridsome.org/docs/data-store-api/
  });

  api.createPages(async ({ graphql, createPage }) => {
    const { data } = await graphql(`

        query {
          posts {
            edges {
              node {
                id
                uri
              }
            }
          }
        }

    `);

    data.posts.edges.forEach(({ node, id }) => {
      createPage({
        path: `${node.uri}`,
        component: "./src/templates/Post.vue",
        context: {
          id: node.id,
        },
      });
    });
  });
};
Remember the Gridsome Playground query?
Basically the api.createPages hook goes into the data layer fetched from WPGraphQL and queries the posts (the exact query we ran in Playground) and then loops through the collection to create single page/routes. We’ll provide a path/url for the route, a component which is the Post.vue template and lastly and context.id of the post/node id.
Magic happened when running “gridsome develop” and now we have routes (got routes?). These can be found in src/.temp/routes.js.
Try accessing the very first Post route in the browser – localhost:8080/{path} – and open up the inspection tool to get the console.
Because of the console.log(this.$page) in the mounted() hook of our Post.vue – the post data from WordPress is now being written out in the console.
With this specific data now being available we just need to bind it to the actual template, so we can finally get the HTML and post displayed. Replace the current <article> block with the following:
Refresh the page.
Well, ain’t that a sight for sore eyes. Our blog posts are finally up.
Even though we’re not quite done yet this is awesome. Good job!
Now. We have posts and that’s really great for a blog, but our visitors might need a way to navigate to these.
Let’s set up a page called “blog” to list all of our blog posts.
There’s a folder with “src” called “pages” and this is a great way to setup single pages/routes non-programmatically.
Basically we just put a file with the .vue extension in there and we now have a singe page for that particular route and only that route. Even if we did set up a Page.vue template within “templates”, the Blog.vue file in the “pages” folder would still supercede. Sweet!
But why would you do that? Well, simple and fast is not always a sin. We also really don’t need to maintain a page in WordPress that only list out blog posts and the content is not really changing. However, just know that we could create a Page.vue template if we choose to, and obviously it would include our blog page.
In our new Blog.vue file in “pages” folder insert this <static-query>
in between the <template> and <script> blocks:
So we want to fetch all the posts to display on our blog page and that’s why we’re writing a static query. There’s no page template/Wordpress data for this page and so even if we wrote out a <page-query> (like in Post.vue) it would return null. nothing. nada. nichego.
Change the console.log(this) to console.log(this.$static) and open up our blog page in the browser. Also open the inspection tool and look at the console.
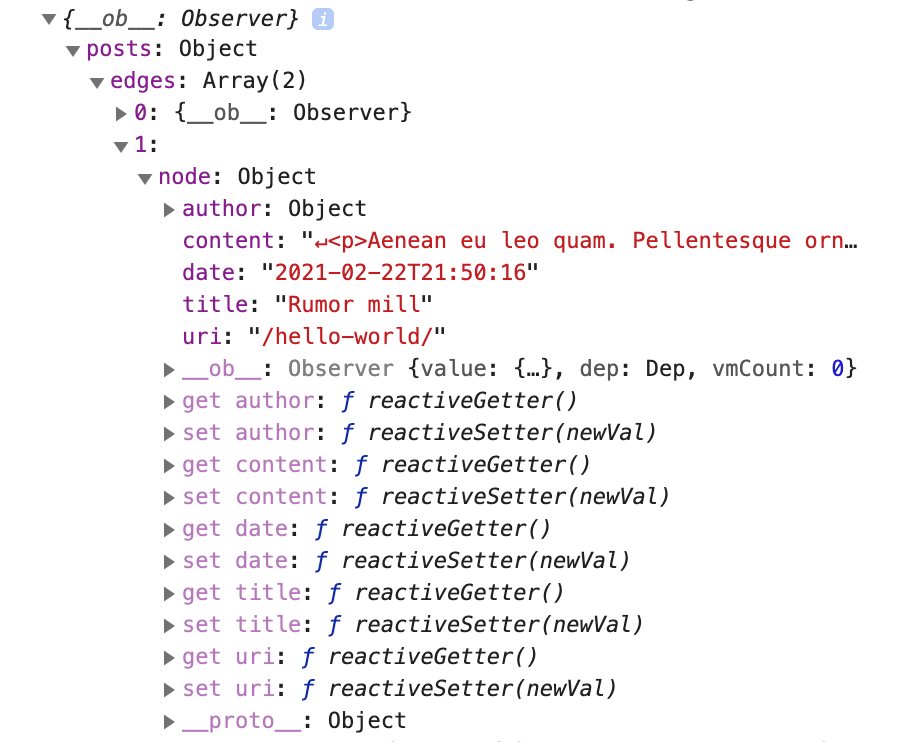
Awesome. Our static-query ($static) has returned an object with an array of 2 posts. We now have the data, so let’s display it on the page.
Replace the <script> block with the following:
This adds a getDate function that we will be using in our Template.
Now, replace the <template> block with the following:
Voila! Go check out the page in the browser.
We are now displaying our posts or rather an excerpt of these with a button to take us to the actual post. That’s wild! Again, good job.

That pretty much concludes the tutorial. You’ve created a personal site with a blog in Gridsome using WordPress & WPGraphQL.
Build. Deployment. Live.
The last thing to this build is to actually use the command ‘build’.
Go to the terminal/console and execute:
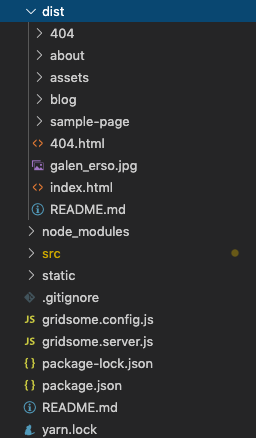
gridsome buildGridsome is now generating static files and upon completion you’ll find the newly created “dist” folder and all of the files and assets.
That’s the site and all of the data from WordPress in a folder that you can actually just drop onto a FTP server and you have a live site.
However a more dynamic and modern way of doing static deployment is to use a static web host and build from a git repository.
There’s lots of hosts out there. I absolutely love and recommend Netlify, but others include Vercel, Amplify, Surge.sh.
The links above should take you to some guides of how exactly to deploy using their services.
It would also be pretty cool if we could trigger a build whenever a post is created/updated/deleted in WordPress. Otherwise we could have to manually build from time to time retrieve the latest data from WordPress. Luckily plugins like JAMstack Deployments help us in that regard. It takes in a build hook url from a static web host and hits that each time WordPress does its operations. I would suggest you to try it out.
I won’t go into deployment in further details, but just wanted to let you in on some of the options for deploying a static site. I’m quite sure can take it from here.
Where to go from here?
Obviously deployment – taking this site live should be one of the next steps, but we might also want to enhance the project.
I’ve listed some possible improvements, which could also just serve as great practice ↓
Further improvements might be;
- Displaying the latest articles on the home page
- Add filtering and/or pagination for the blog
- Adding a Page.vue template for a Contact and/or About page
- Use SASS & CSS pre-processors in Gridsome
- Pull in the top menu dynamically from WPGraphQL
- Try adding Advanced Custom Fields *
- Something entirely different that you feel like creating, e.g.
- Other sites (Personal/Product/Corporate/Agency)
- E-commerce
- PWAs
* A word about extensions – WPGraphQL can be extended to integrate with other WordPress plugins.
Advanced Custom Fields is a great plugin used by so many to enrich the content and structure of a WordPress site. There’s an WPGraphQL extension for it (and other great plugins too) and these are maintained by some awesome community contributors. Gridsome also has a badass community and a lot of plugins to get you started.
It’s almost too good to be true ????
Wrap it up already
So that’s basically it. Thanks for reading and coding along.
I definitely encourage you to go further read the documentation on both Gridsome and WPGraphQL. It’s very well written and has examples that will help you no matter what you might build.
Lastly, if you need to get in touch I’ll try to help you out the best I can.
Very lastly, if this was of any use to you, or maybe you just hated it – go ahead and let me know.